Generate your first Swarmion project
In this guide we'll see how to generate a Swarmion project from scratch.
If you're looking how to migrate your existing project to Swarmion, please check out the migration docs.
Requirements
- nvm: install docs
- pnpm: install docs
- AWS CLI: install docs
Before generating your project, run in a terminal:
node -v
You should get v20.xx.xx. If this is not the case, run nvm use 20.
Create a new project from the Swarmion template
Run the following command:
pnpm create swarmion-app

# or using npx

npx create-swarmion-app
You will be prompted with the question "What is your project named?", simply enter your project name and hit enter. You will then be asked to choose a template. For now, let's use the simplest one, Swarmion Starter.
The following will happen:
- A new folder with your project name in the current directory
- It will be populated with the
Swarmion Startertemplate pnpm installwill be run inside the project to install all the dependencies- The libraries of the project will be packaged
- A git repository will be initialized
You can add an argument to the create swarmion-app command to skip the prompt and instantly generate your project:
pnpm create swarmion-app my-project-name
Open the project in your editor
Swarmion projects are designed to work best when used with VS Code.
You can read more about VS Code integration in Swarmion in the dedicated page: VS Code support.
You can now open the project by running:
code my-project-name/my-project-name.code-workspace
Be sure to always open the project using the multi-root workspace feature. Otherwise, you will not benefit from linting, proper autocompletion, testing, and other features.
Never open the project by running simply:
code my-project-name
Overview of the generated project
In the Explorer tab, you should see the following workspaces:
my-project-name root: the root folder of your project. It contains all the other workspaces, but you will never open any code file inside this one. It will allow you to access all root level configuration files.core [service]: the folder containing the core service (shared resources).serverless configuration [library]: the folder containing the serverless configuration library.contracts core [library]: the folder containing the contracts library for the core service.
A Service represent a backend serverless service using the Serverless framework. When the command pnpm run deploy is run inside, it will deploy a stack to AWS.
A Library represent a set of reusable code that can be used by multiple services or other libraries. It cannot be deployed, since it is only containing code.
The project is organized in a monorepo containing four packages (one service and three libraries):
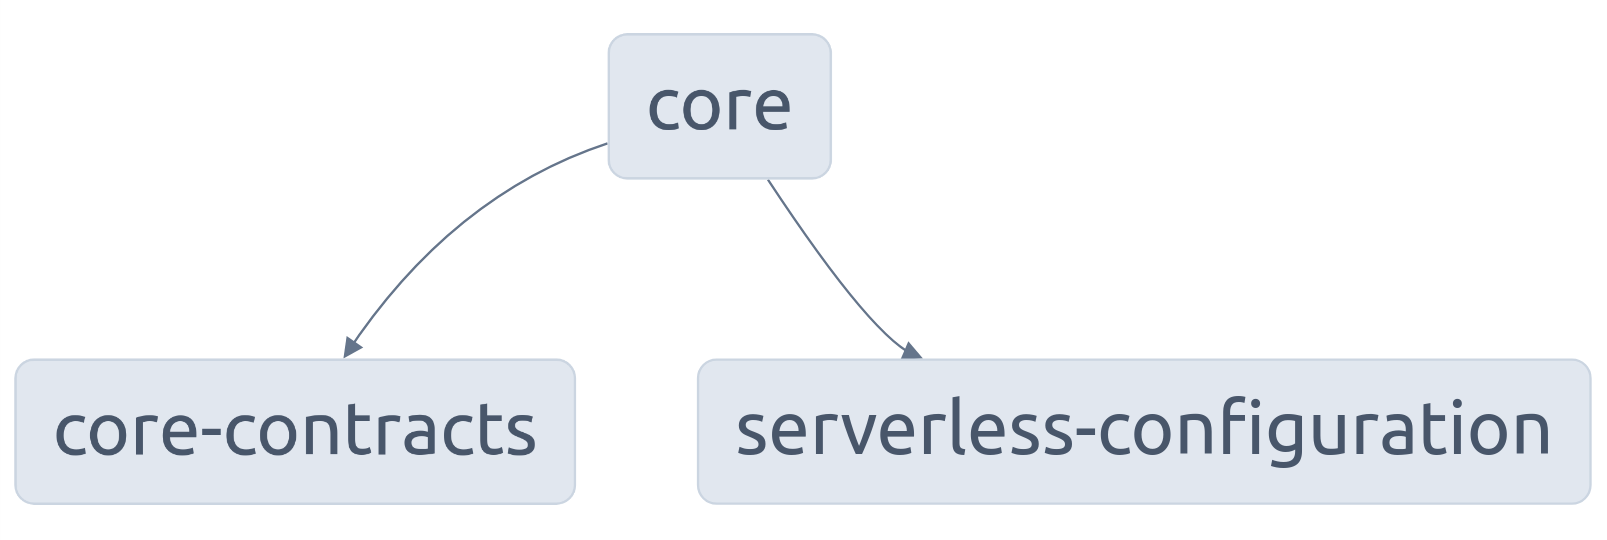
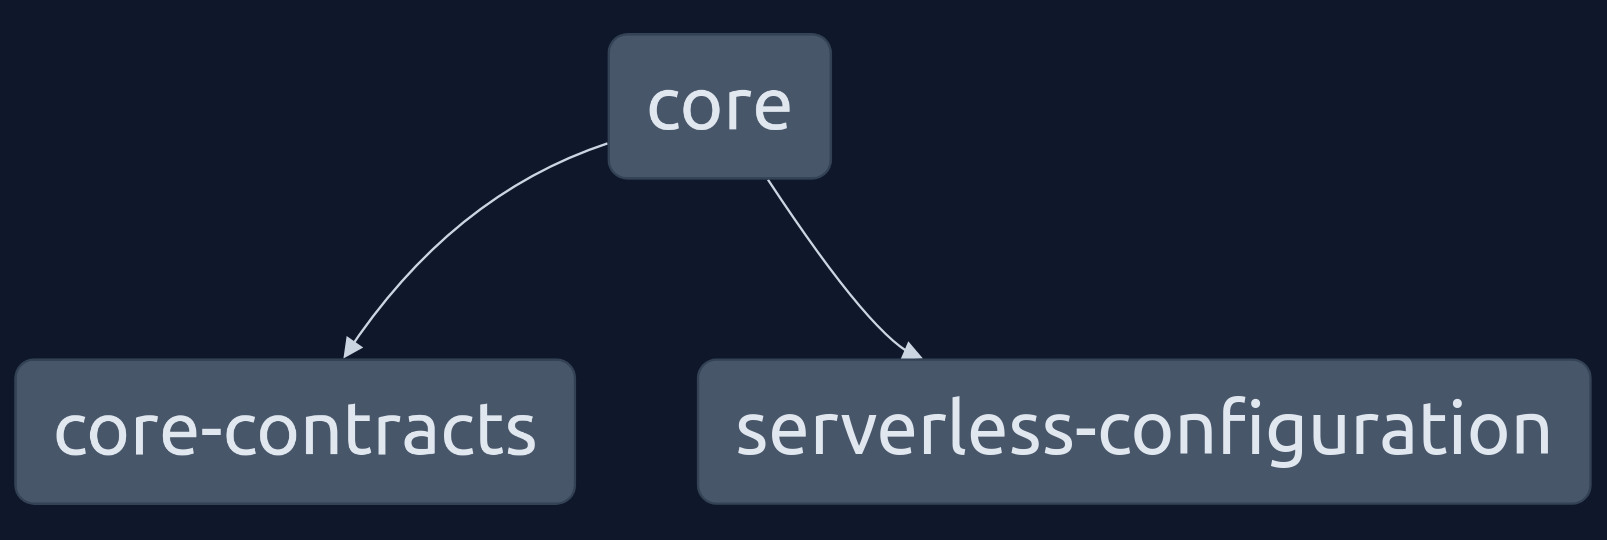
Here you can see that the core service has the core-contract and serverless-configuration libraries as dependencies.
Scripts
At the root level, the following scripts are available:
nvm use: use the version of node set in.nvmrcpnpm i: install npm dependencies in all packagespnpm nx graph: start an app to visualize dependencies in your monorepo (see more: Nx graph)pnpm package: compile the librariespnpm test: run tests in all the services and librariespnpm update --interactivein order to bump all dependencies to their latest version. Be careful as it may introduce breaking changes